

Typically, I try to avoid tech advice posts (although I am a tech enthusiast at heart that is not where the soul of the blog lies). However, I recently moved from BT to VODAFONE Broadband. Partly, due to the price and partly due to them being the soonest option available to hook me up with broadband. In doing so, I woke up to a rather unexpected problem.
The Problem with VODAFONE
Wasn’t in the service or reliability but in the router they provided. The default DNS settings stopped images from loading on certain sites. Among those, WordPress blogs (like mine and my peers). Essentially, all the WP powered blogs I went to weren’t displaying images at all.
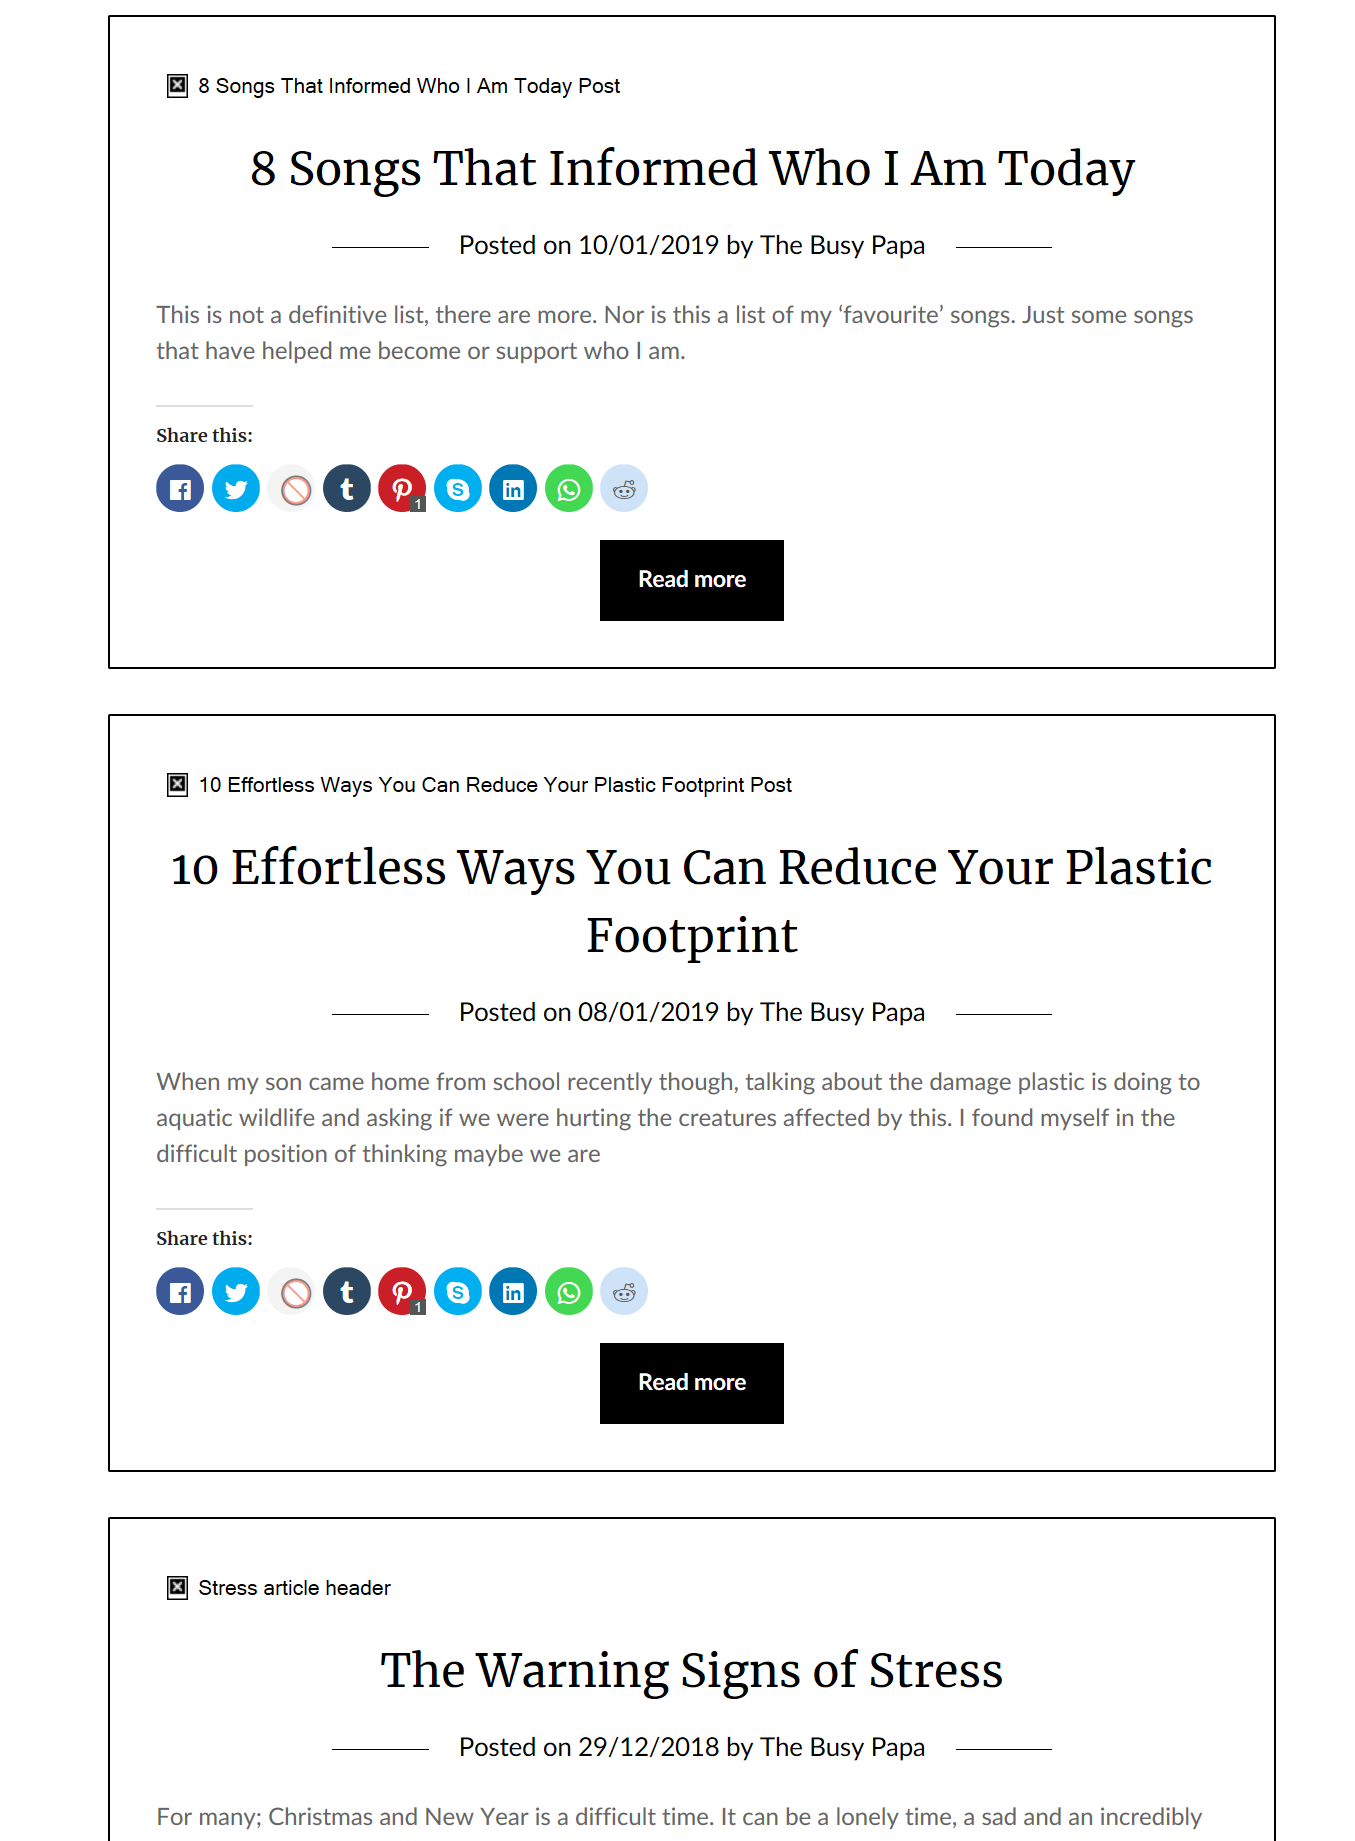
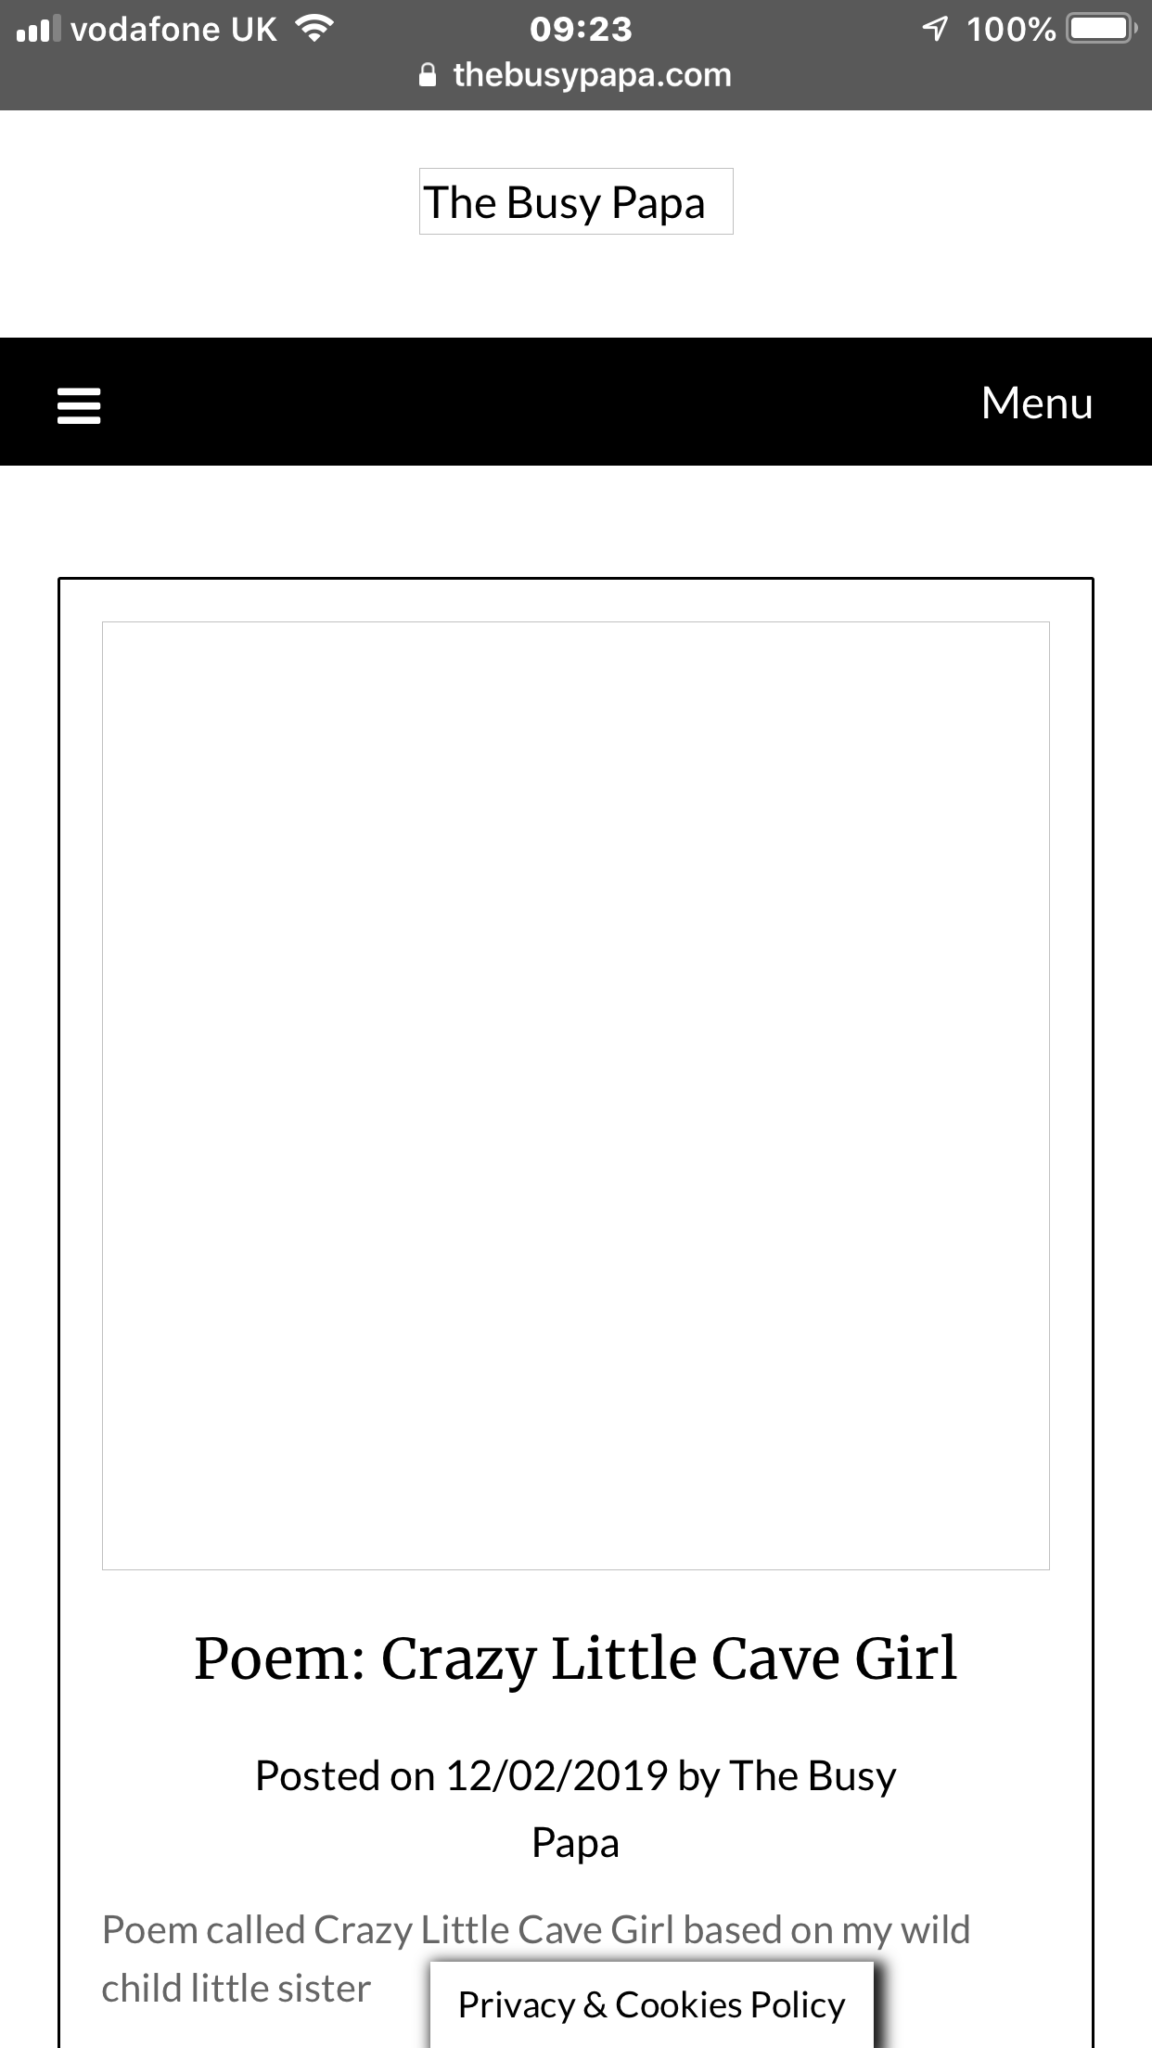
Of course I didn’t realise this was the case right away and wasted a couple of hours thinking the fault lied with TBP itself. It was both a relief and a frustration when I found out (with the help of fellow blogger Alan over at OMG).
After working out what the issue was, I was happy at least that it is a quick, simple fix and if you have this issue with your blog or any other sites and are on VODAFONE broadband then all you need to do is follow these very simple steps:
1. Access the Router’s Settings Page
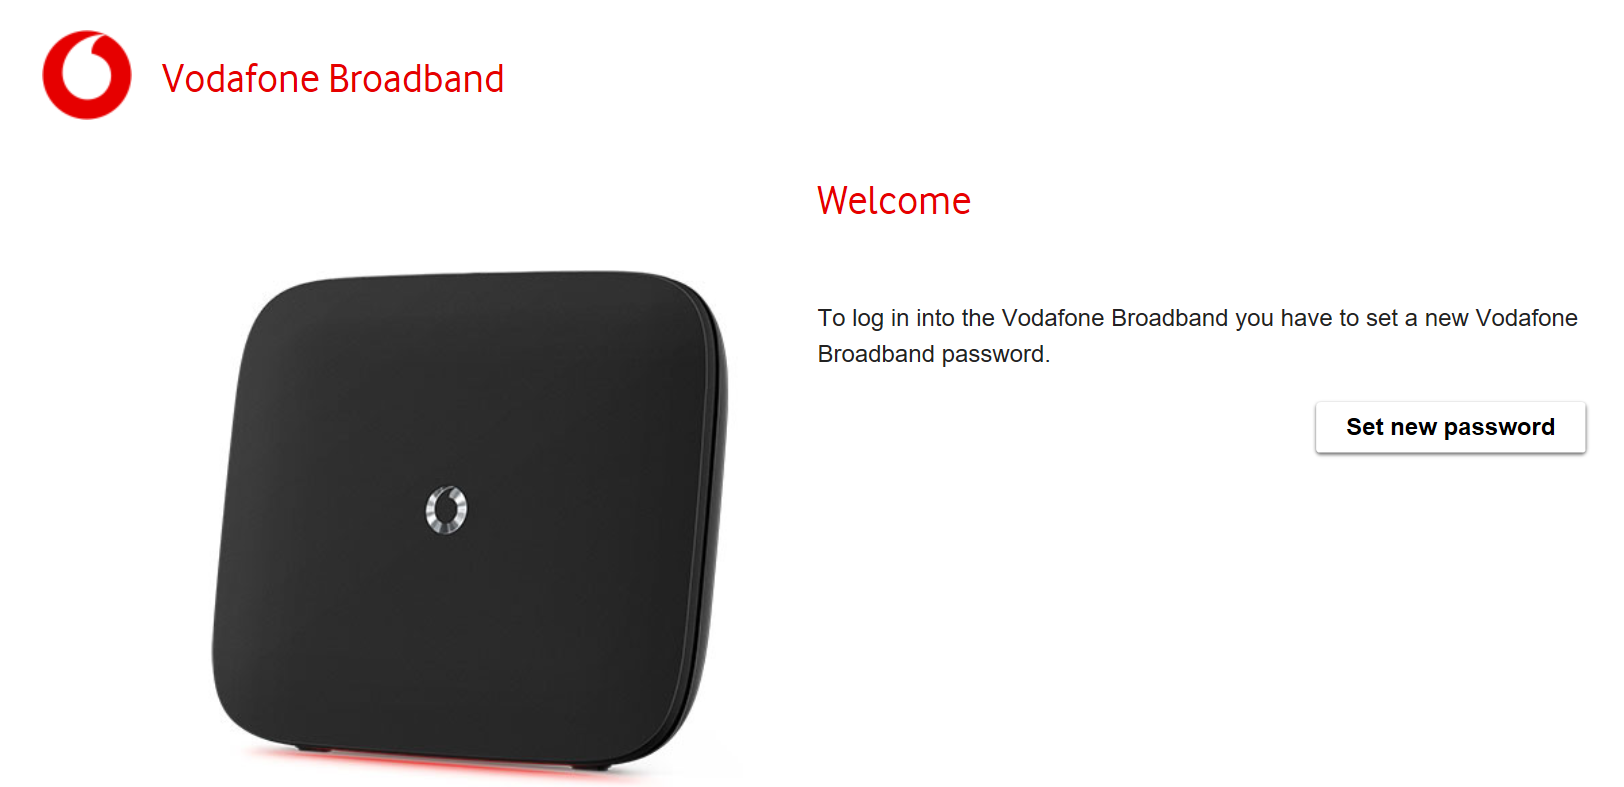
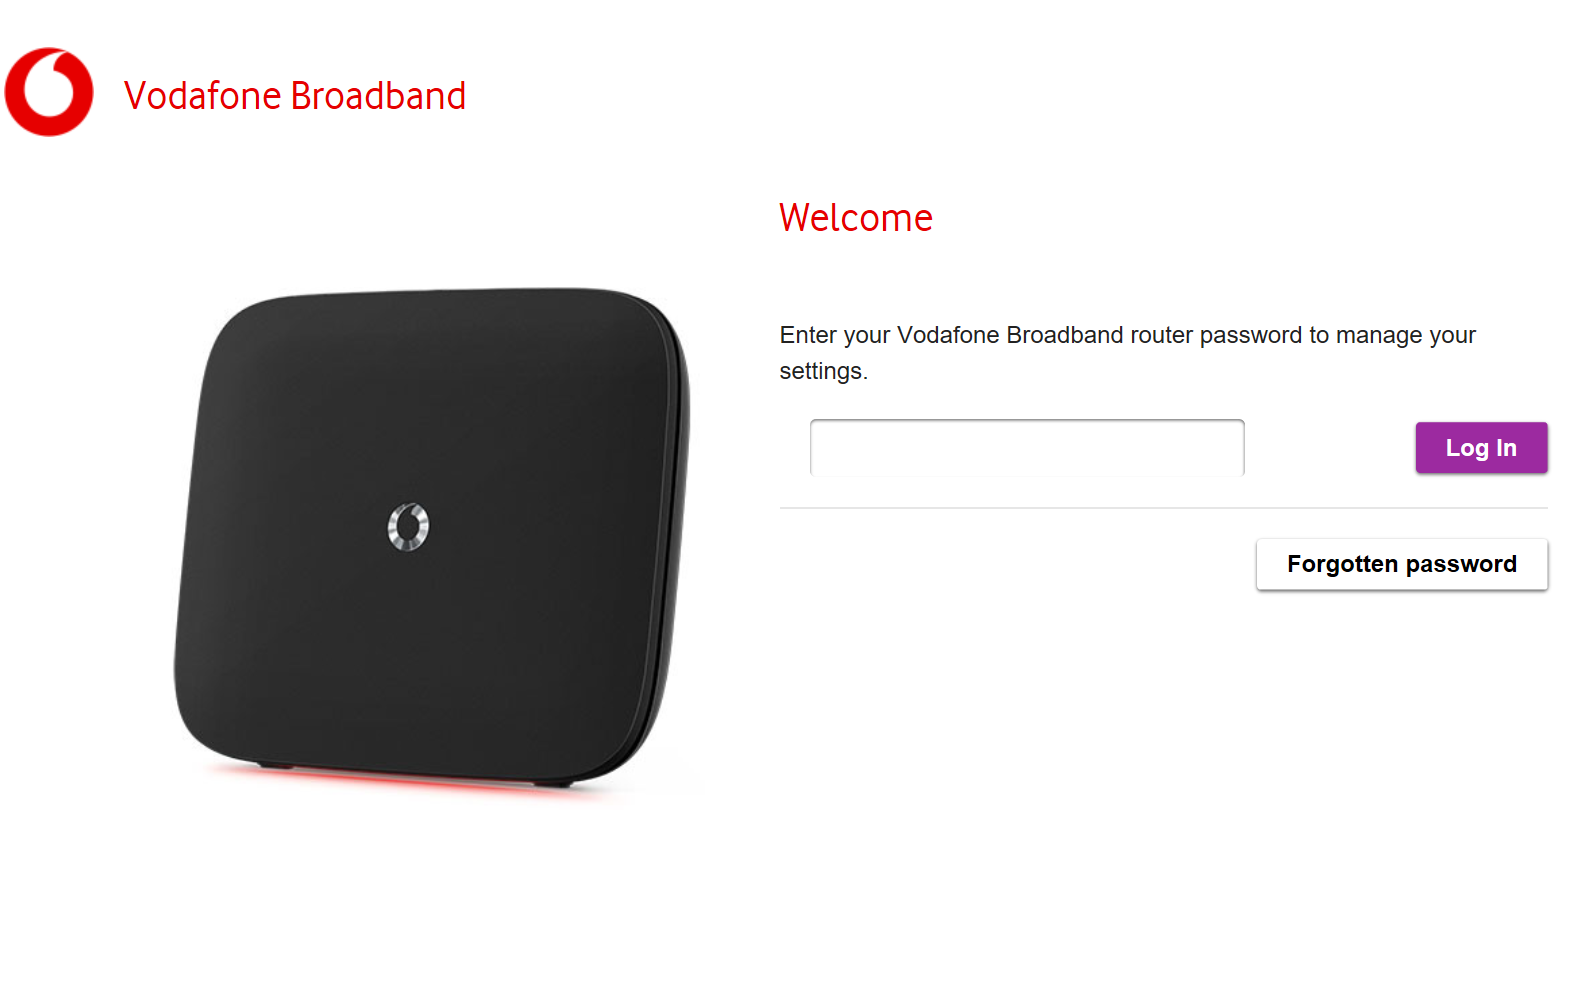
To do this, open up a browser on your computer, phone or tablet (ensured it is connected to the network of course) and go to 192.168.1.1, it is possible your router may have a different address if an older or newer model that mine. At the time of writing though, this is the current IP address. If you have accessed the right address, you’ll either see a screen to set a new password (left) or a log on-screen (right). The default password is vodafone, I would strongly recommend setting another if you have not already.
Once this is done, you’ll find yourself at the settings page itself:
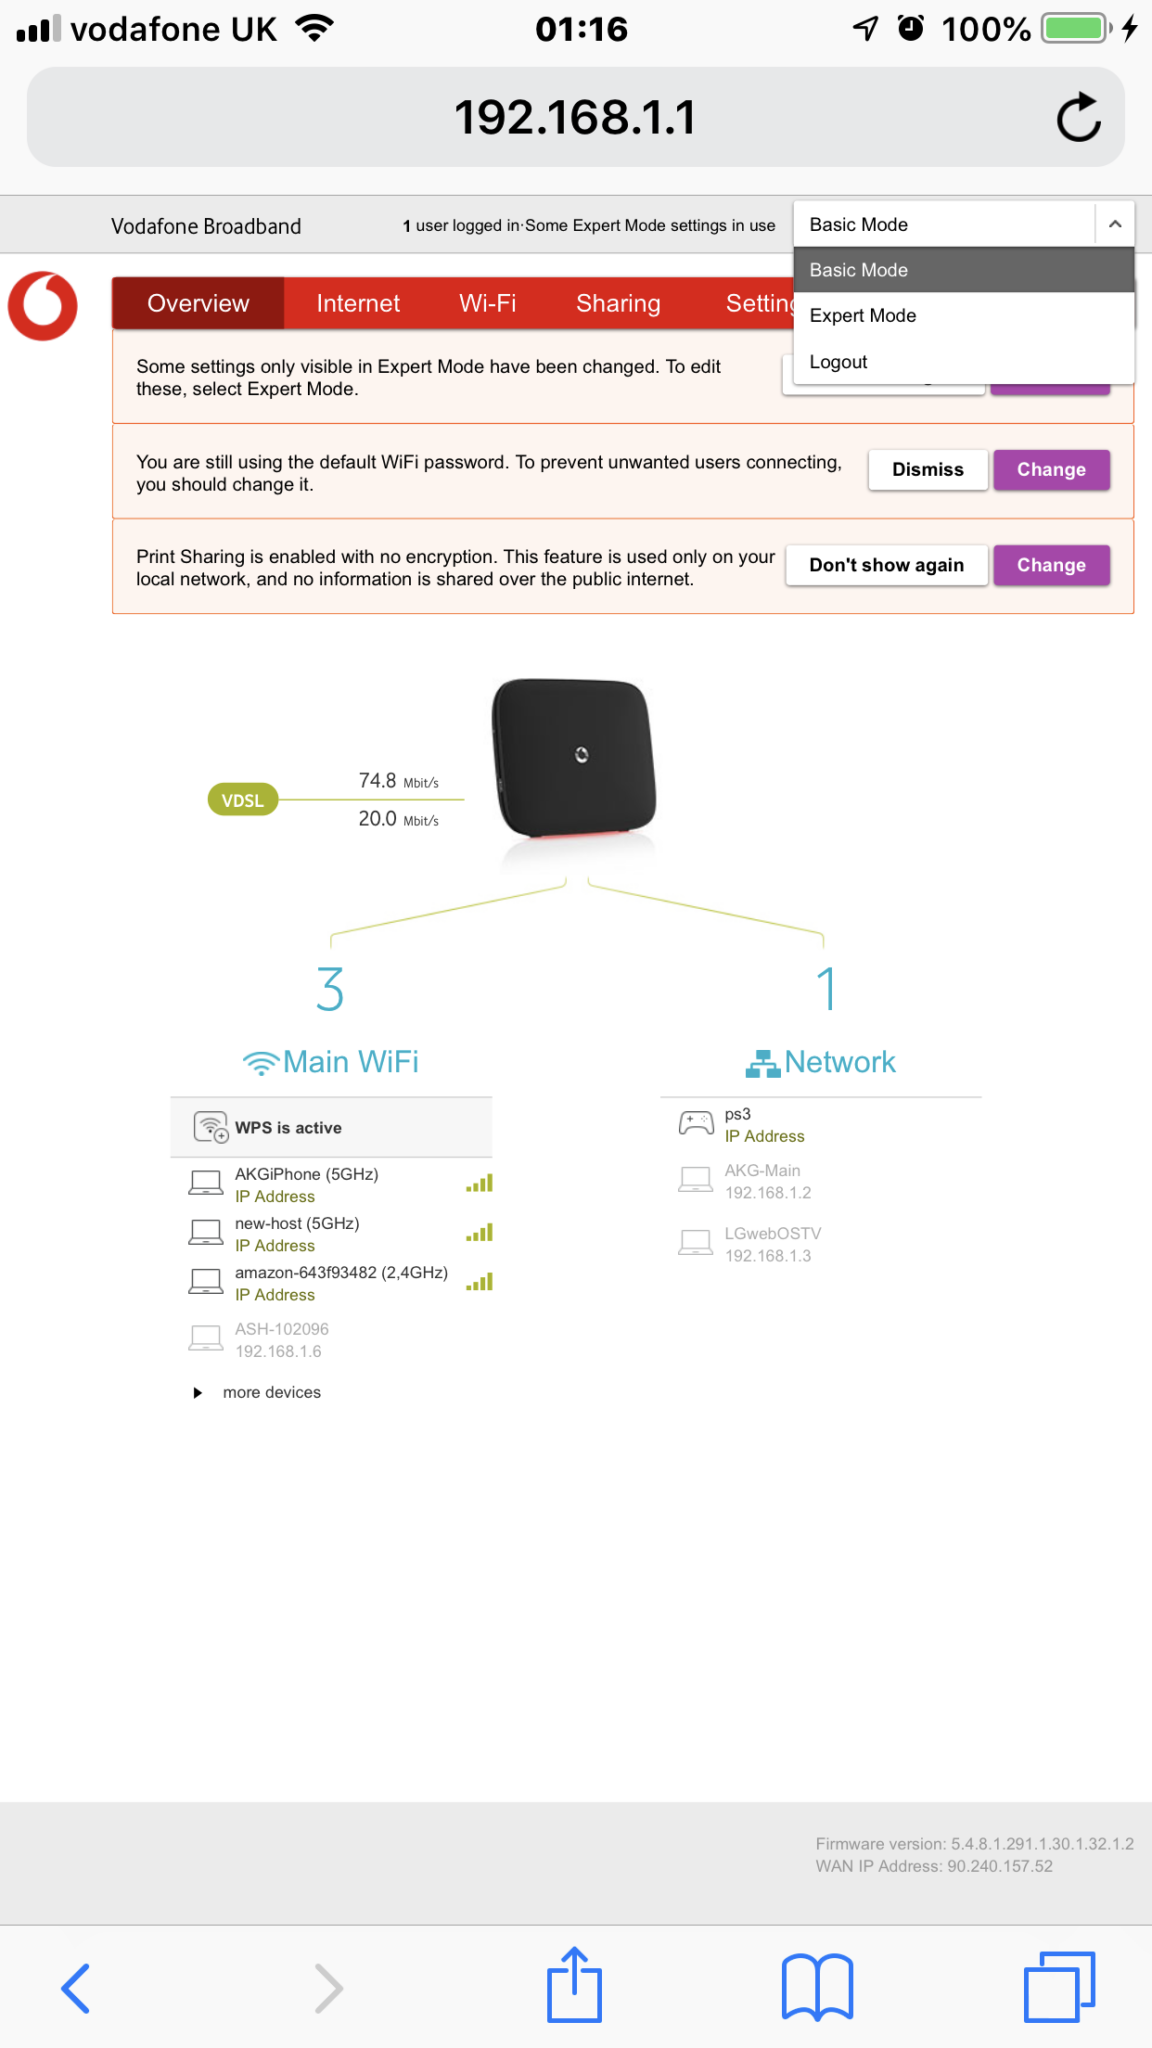
From here, switch to Expert Mode from the dropdown box at the top-right.
2. Changing the DNS Settings
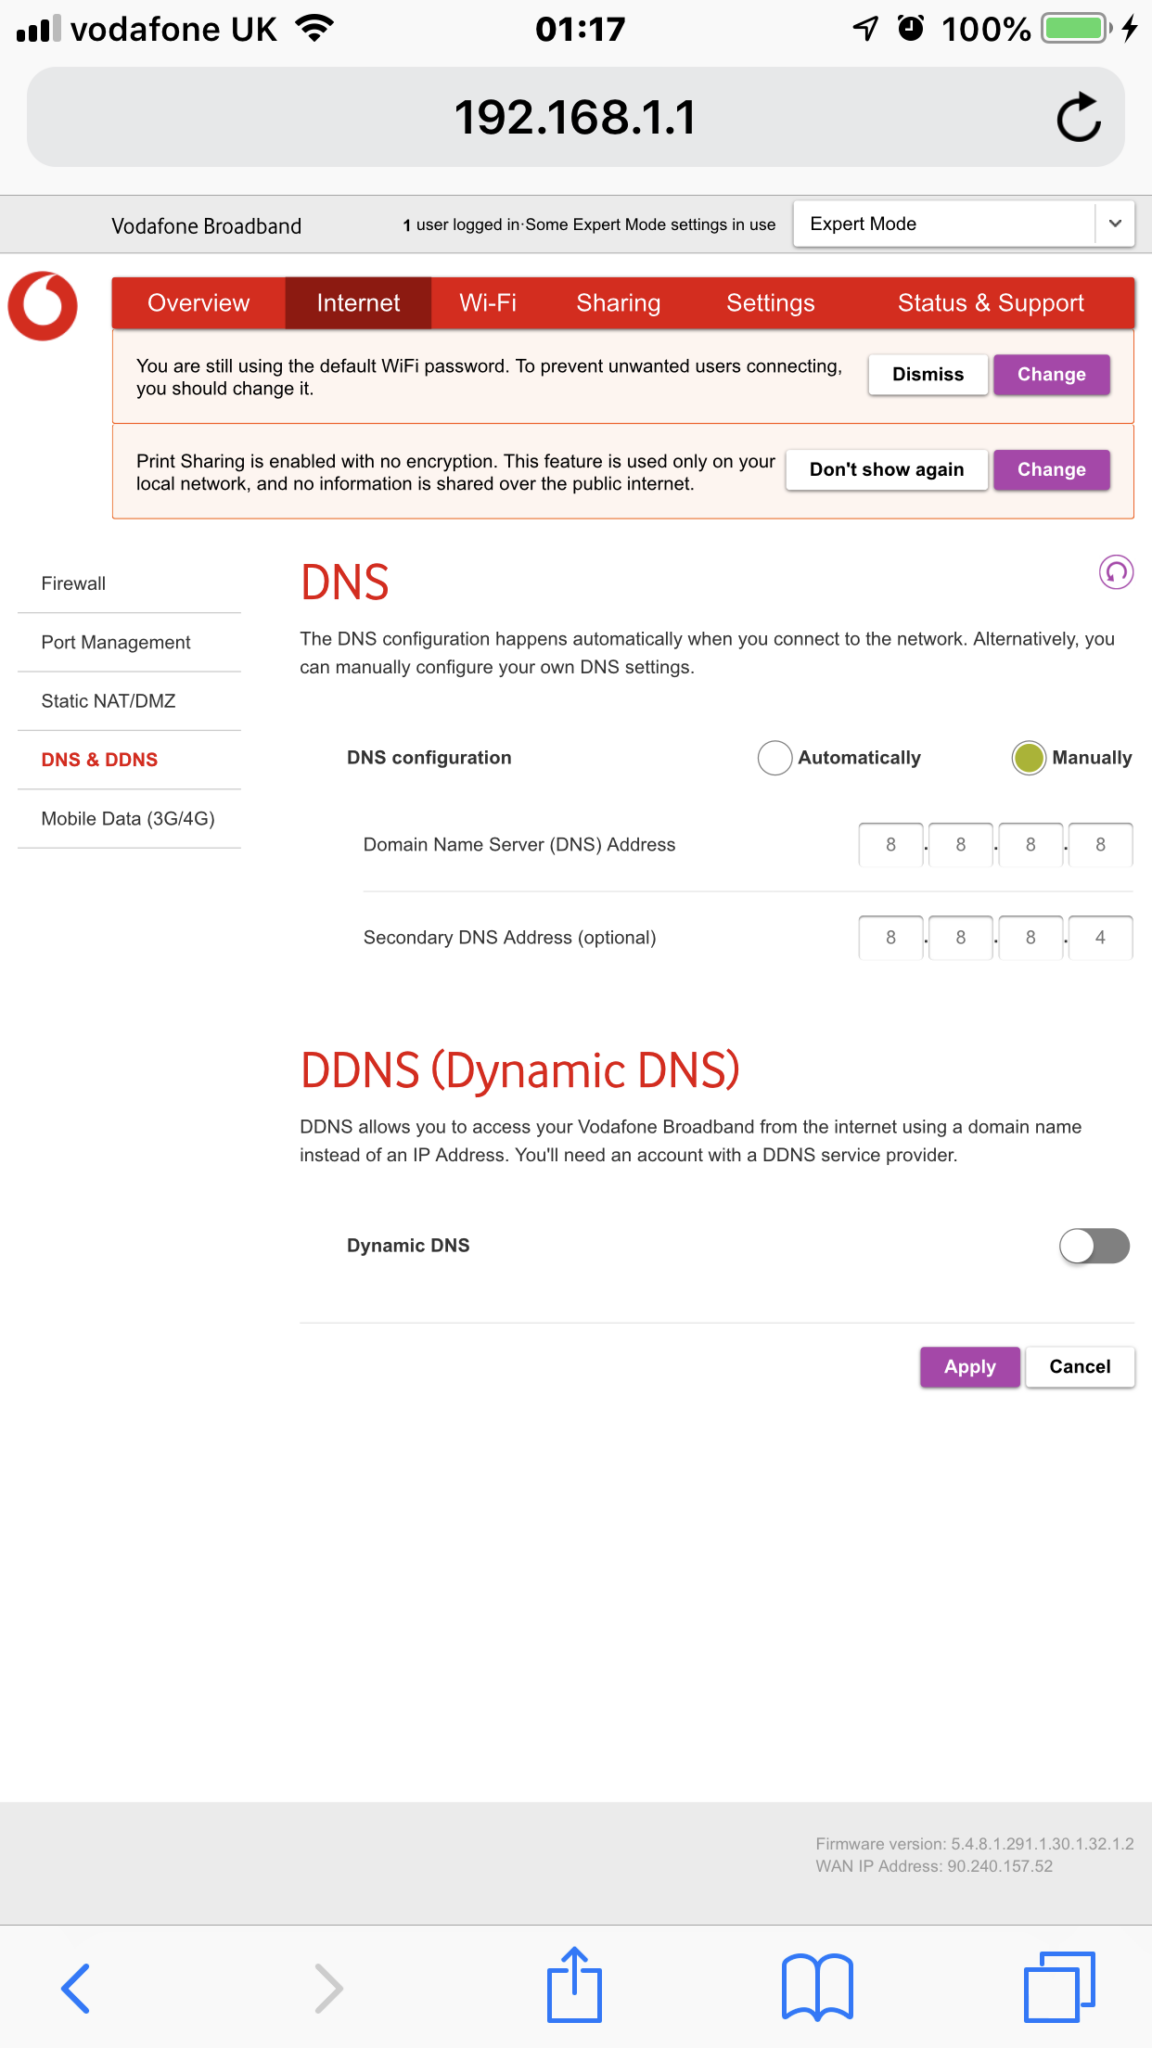
This sounds complicated. It isn’t. Simply:
- Click/Tap Internet on the top bar (next to Overview).
- Click/Tap DNS & DDNS on the left-hand side (below Static NAT/DMZ).
- Switch DNS Configuration from Automatically to Manually.
- Change Doman Name Server (DNS) Address to 8,8,8,8.
- Change Secondary DNS Address (optional) to 8,8,8,4.
- Click the Apply button.
3. Finally, Restart the Router
I did this by going the physical hub and switching it off and on again.
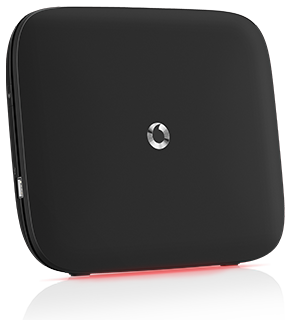
When it comes back on, everything will display as expected.

What This Did
To summarise in a very simple and basic way, we overrode the default DNS settings for the VODAFONE hub to the Google DNS Settings which are both fast and secure. More importantly though the image information is not being intercepted and disallowed from displaying any more, which basically fixes the issue at hand.
If you like what was written here today, please connect with The Busy Papa on social media, like share or subscribe. Every little helps.
The Busy Papa

Also known as Aaron, The Busy Papa focuses on lifestyle, parenting and personal wellbeing content. He has two decades experience in creative writing (including several published poems) and strongly dislikes (though tolerates) tomatoes.